
Kilimanjaro Photography Tips: Capture Stunning Views
Capturing the beauty of Kilimanjaro requires preparation and awareness of the mountain’s unique lighting and conditions. Cold temperatures, altitude, and limited charging options can all affect your photography experience, our expert photography tips from Capable Africa Tours will help you take stunning photos. Planning ahead ensures you preserve your memories without compromising your gear. Learn the best camera gear, settings, and techniques to immortalize your 6–9 day trek to Africa’s highest peak.
Plan Your Kilimanjaro Trek Now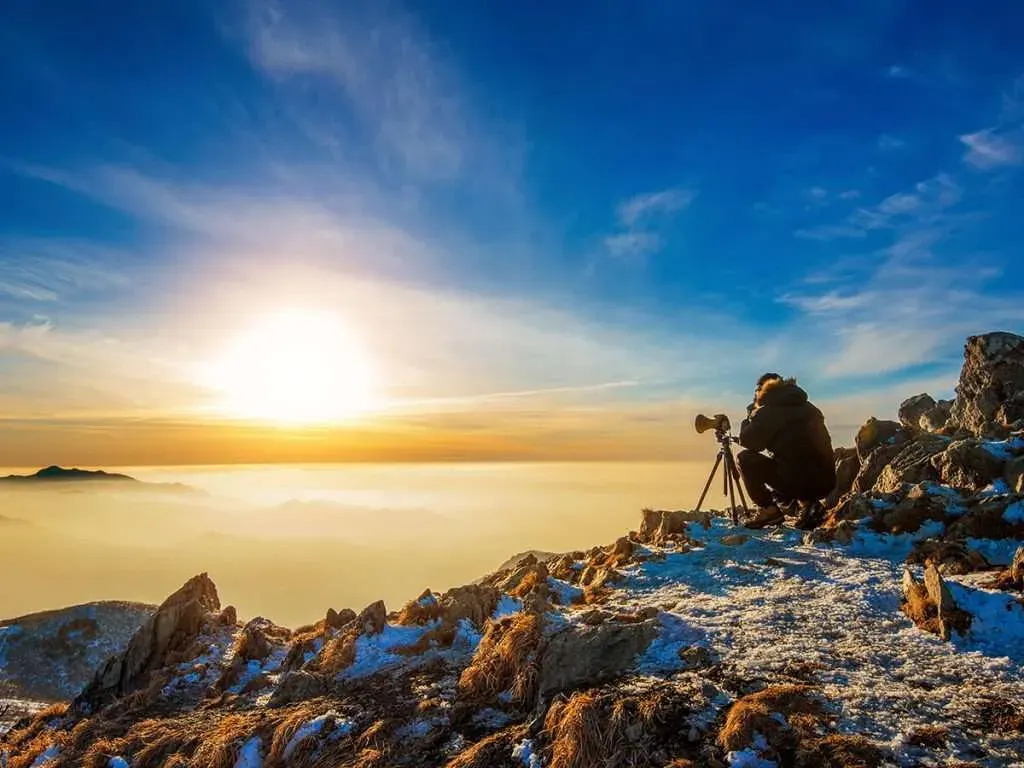
Essential Kilimanjaro Photography Tips
Photographing Mount Kilimanjaro requires preparation to capture its diverse ecosystems—rainforests, moorlands, alpine deserts, and the glacial summit. With Capable Africa Tours, you’ll trek through five climate zones, each offering unique photo opportunities. Below, we share practical tips, gear recommendations, and camera settings to help you take professional-quality shots during your 6–9 day adventure.
Choosing the Right Camera Gear
Selecting lightweight, durable gear is critical for Kilimanjaro’s challenging terrain and weight limits (3–5kg for camera gear). Here’s a detailed breakdown:
- Camera Body: Opt for a mirrorless camera (e.g., Sony A7C, Canon EOS R10, 500–800g) or a lightweight DSLR for quality and portability.
- Lenses: A versatile 24–70mm f/2.8–f/4 lens covers landscapes and portraits; a 70–200mm telephoto captures distant wildlife or peaks.
- Tripod: A lightweight carbon-fiber tripod (1–1.5kg, e.g., Manfrotto Element) for low-light or long-exposure shots at the summit.
- Accessories: Carry 3–4 spare batteries (200–300g each), a 10,000mAh power bank, and a 32–64GB memory card for 1,000–2,000 RAW images.
- Protection: Use a padded camera bag, weather-sealed covers, and silica gel packs to protect against rain, dust, and cold.
Camera Settings for Kilimanjaro’s Environments
Kilimanjaro’s varied lighting and altitudes demand adaptable settings. Here’s a table to guide you:
| Environment | Camera Mode | Aperture | ISO | Shutter Speed | Tips |
|---|---|---|---|---|---|
| Rainforest (Day) | Aperture Priority | f/8–f/11 | 100–400 | 1/125–1/500s | Use a polarizing filter to reduce glare and enhance greens. |
| Moorland (Sunrise/Sunset) | Manual | f/5.6–f/8 | 200–800 | 1/60–1/250s | Bracket exposures for vibrant golden-hour colors. |
| Alpine Desert (Day) | Aperture Priority | f/11–f/16 | 100–200 | 1/250–1/1000s | Use a UV filter to manage high-altitude glare. |
| Summit (Night) | Manual | f/2.8–f/4 | 800–1600 | 10–30s | Use a tripod for starry skies; focus manually to infinity. |
Photography Techniques for Stunning Shots
Maximize Kilimanjaro’s visual impact with these expert techniques:
- Rule of Thirds: Position peaks or climbers off-center for dynamic compositions.
- Foreground Interest: Include rocks, plants, or trekkers to add depth to landscapes.
- Golden Hour: Shoot during sunrise/sunset (5:30–6:30 AM/PM) for warm, soft light.
- Long Exposure: Capture star trails or cloud movement at night with a tripod and 15–30s exposures.
- Panoramas: Stitch multiple shots for sweeping views of Uhuru Peak or crater rims.
Essential Camera Gear Weight and Battery Life
Managing weight and power is crucial. Here’s a breakdown:
| Item | Weight (g) | Battery Life (Shots) | Notes |
|---|---|---|---|
| Sony A7C Camera | 509 | 680–740 | Lightweight, ideal for trekking. |
| 24–70mm Lens | 400–600 | N/A | Versatile for most scenarios. |
| Lightweight Tripod | 1000–1500 | N/A | Carbon fiber for portability. |
| Spare Battery | 200–300 | 600–700 | Carry 3–4 for a 6–9 day trek. |
Why Photography on Kilimanjaro Matters
Photographing Kilimanjaro isn’t just about taking pictures—it’s about preserving memories of a monumental journey. From the vibrant rainforests to the stark beauty of Uhuru Peak, each zone offers unique photo opportunities. Proper gear and techniques ensure you capture these moments vividly, even in challenging conditions. With Capable Africa Tours, you’ll have expert guides to help you find the best vantage points during your trek.
Benefits of Mastering Kilimanjaro Photography:
- Preserve lifelong memories of your summit achievement.
- Capture diverse ecosystems in one trek (rainforest to glacier).
- Share professional-quality images with friends or on social media.
- Document rare wildlife and cultural moments with local porters.
Visualize Your Kilimanjaro Photography Adventure
Watch this video to see Kilimanjaro’s stunning landscapes and learn how to capture them with Capable Africa Tours’ expert guidance.
Practical Tips for Photographing Kilimanjaro
To capture Kilimanjaro’s beauty, plan your gear and shooting schedule carefully. Here are actionable tips to ensure success on your 6–9 day trek with Capable Africa Tours:
- Pack Light: Keep camera gear under 5kg to stay within daypack limits; use a single versatile lens if possible.
- Protect Gear: Store equipment in a waterproof bag with silica gel packs to combat rain and dust.
- Plan Shots: Scout locations with your guide (e.g., Barranco Wall, Stella Point) for iconic shots.
- Conserve Power: Turn off LCD screens and shoot in bursts to save battery life at high altitudes.
- Backup Photos: Use two memory cards and swap daily to prevent data loss.
- Practice Cold-Weather Shooting: Test your camera in cold conditions to ensure it functions at 0°F on summit night.
Ready to Capture Kilimanjaro’s Beauty?
Turn your Kilimanjaro trek into a photographic masterpiece with Capable Africa Tours. Our expert guides will lead you to the best viewpoints, ensuring you capture stunning images while summiting Africa’s highest peak.
- 98% summit success rate with expert guides.
- Photography-friendly itineraries with optimal shooting times.
- Eco-friendly treks supporting local communities.
- Gear rental options to lighten your load.
- Customizable routes for unique photo opportunities.
Limited spots for Kilimanjaro treks—book now to secure your photography adventure!
Plan Your Trek NowExplore Our Kilimanjaro Climbing Adventures
5-Day Marangu Route Kilimanjaro Climb | Hut-Based Trekking
Experience a classic Kilimanjaro ascent with ample photo opportunities on the “Coca-Cola” route, featuring comfortable huts and scenic trails.
View Package →
6-Day Machame Route Kilimanjaro Trek | Scenic & Challenging
Capture dramatic landscapes on the “Whiskey Route,” a 6-day trek with stunning viewpoints perfect for photographers.
View Package →
7-Day Lemosho Route Kilimanjaro Trek | Best for Photography
Enjoy a longer, scenic route with diverse ecosystems, ideal for capturing Kilimanjaro’s beauty with extra acclimatization days.
View Package →